

Adding a Converter
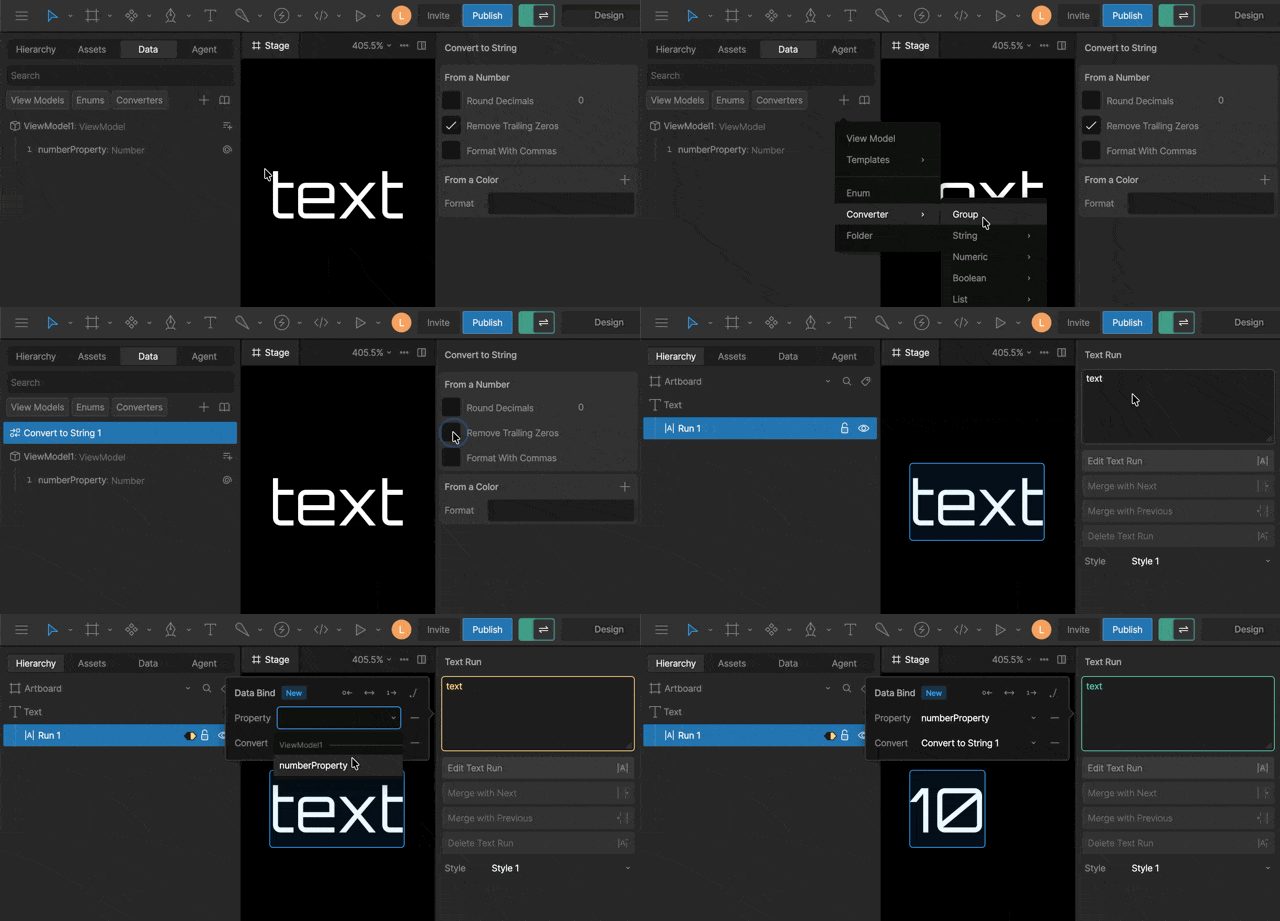
1
Create a Converter
In the Assets panel, click the
+ button and select a converter type.2
Set Converter Options
With the converter selected, update the settings in the right sidebar.
Most options can be data bound.
3
Apply your Converter
When setting or updating a binding, set the Converter field..
Converter Types
Converters can be used individually or combined into groups to perform more complex transformations. Each converter has its own set of properties, many of which can be bound to other View Model properties. This allows converter behavior to update dynamically. For example, you could bind the maximum value of a range map, a multiplier in a formula, or the padding amount in a string converter.Pad
Pads a string to a target length by repeating a value at the start or end. If the string is shorter than the specified length, the pad value is repeated and added until the target length is reached. Example:- Value: 1
- Pad: “0”
- Direction: Start
- Length: 3
Range Map
Maps a number from one range to another. Use Range Map when you want to take an input value and convert it into a different scale. Example Convert a slider value (0–100) into an opacity value (0–1):- Input: 50
- Input range: 0 → 100
- Output range: 0 → 1
Numeric Interpolator
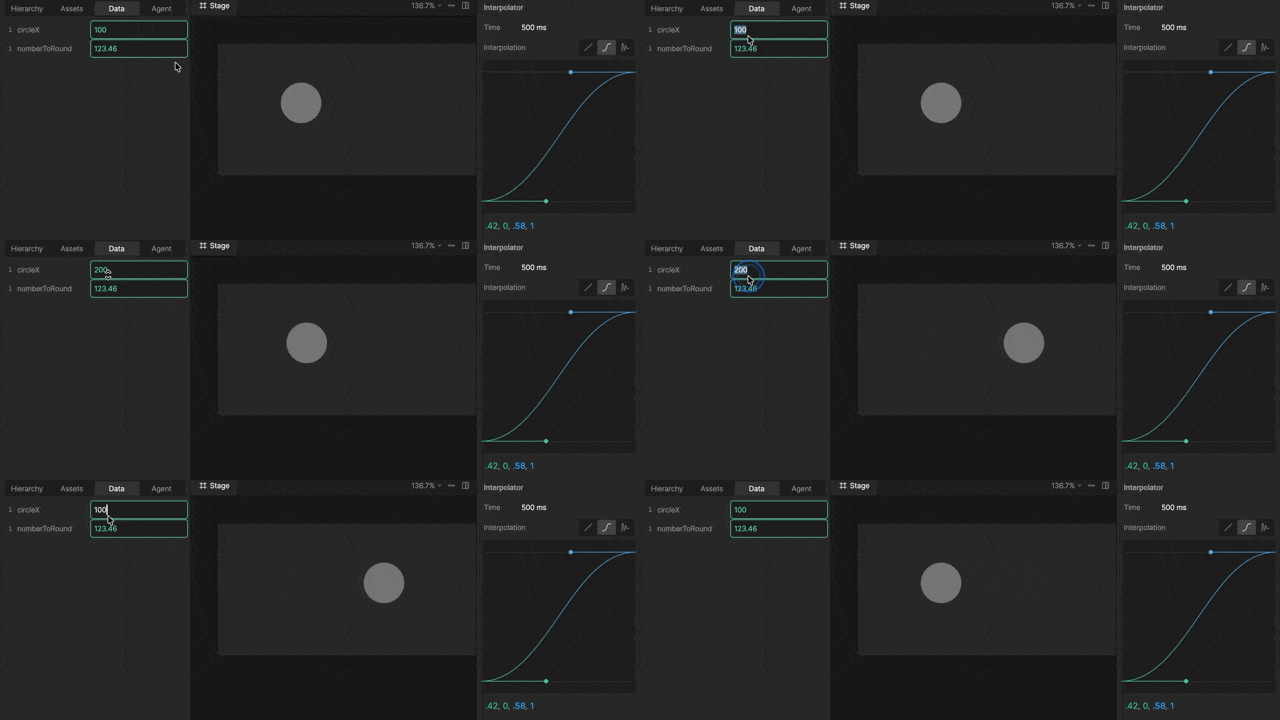
Formula
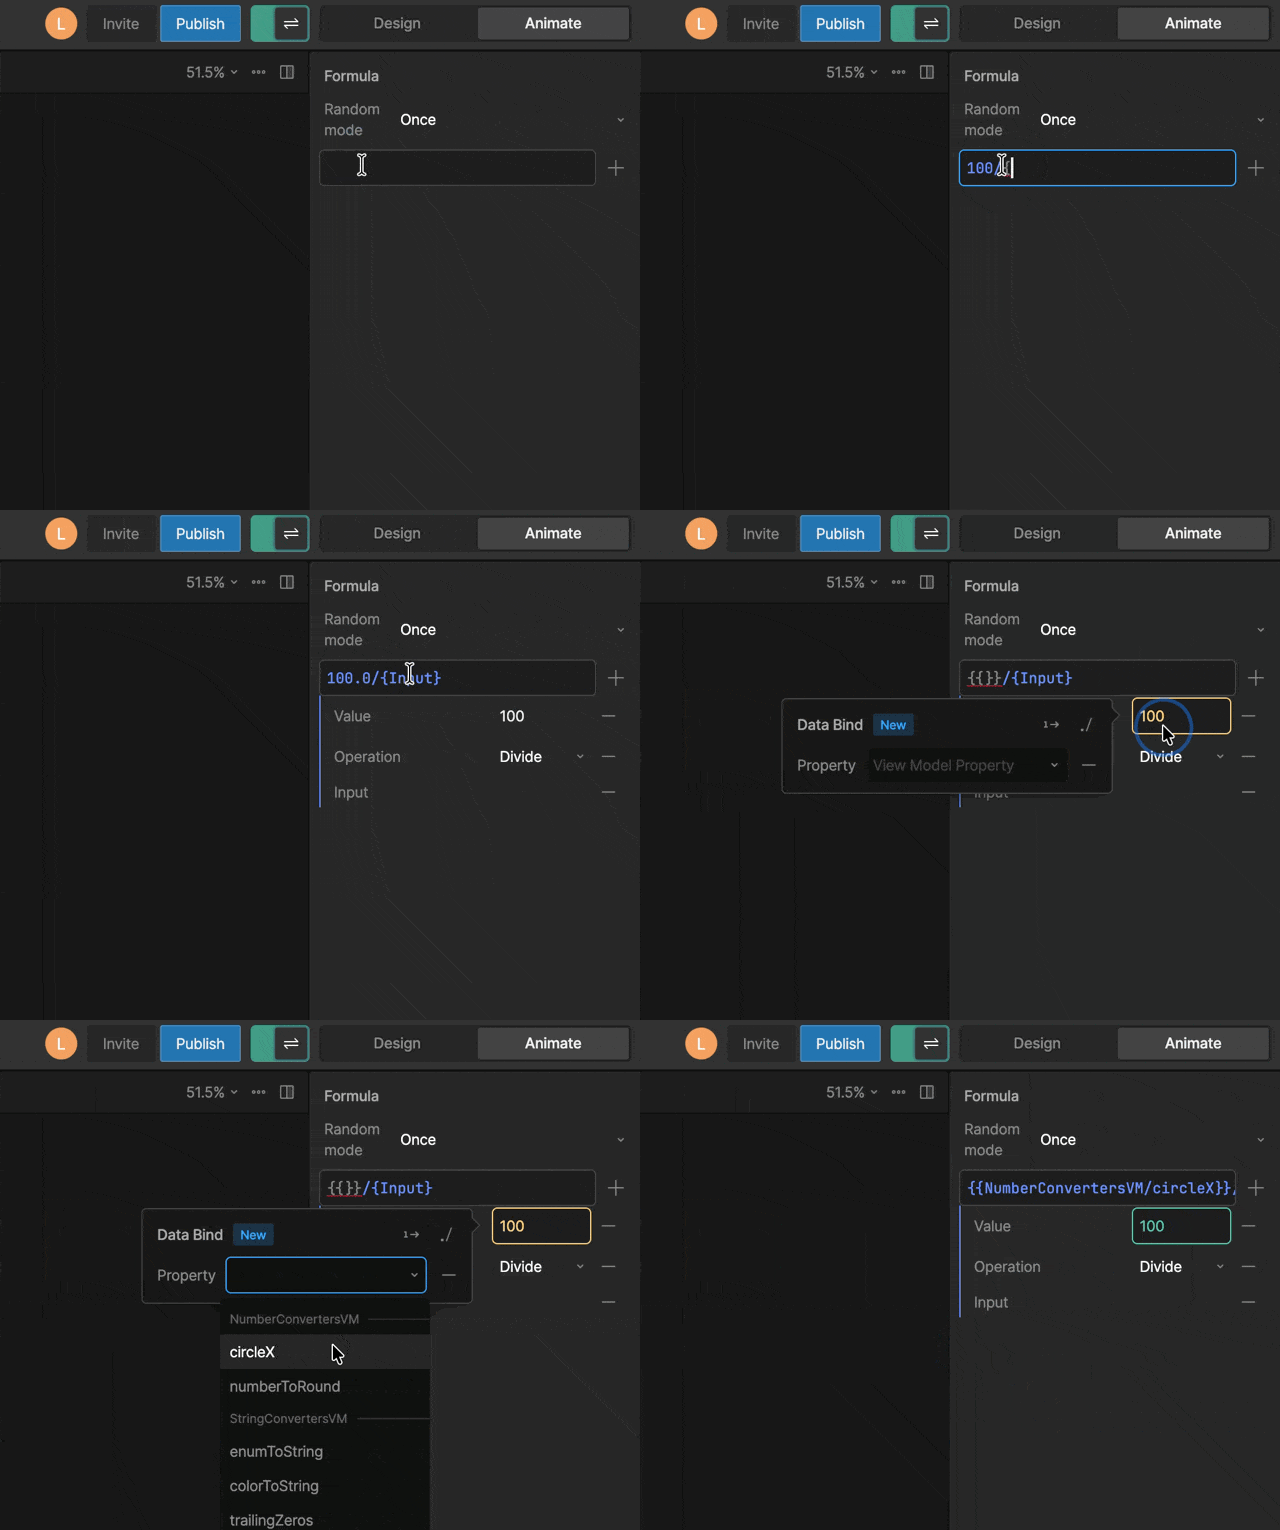
{Input} refers to the incoming value, while {{...}} references View Model properties.Random Mode
When usingrandom() in your formula, the Random Mode determines when a new random value is generated.
- Once — Generates a random value only when the formula first runs
- Source Change — Generates a new value each time the input changes
- Always — Continuously generates new values while the input changes and during interpolation
Number to List
The Number to List converter allows you to generate a specified number of Components based on a number. See Lists for more information.Color Interpolator
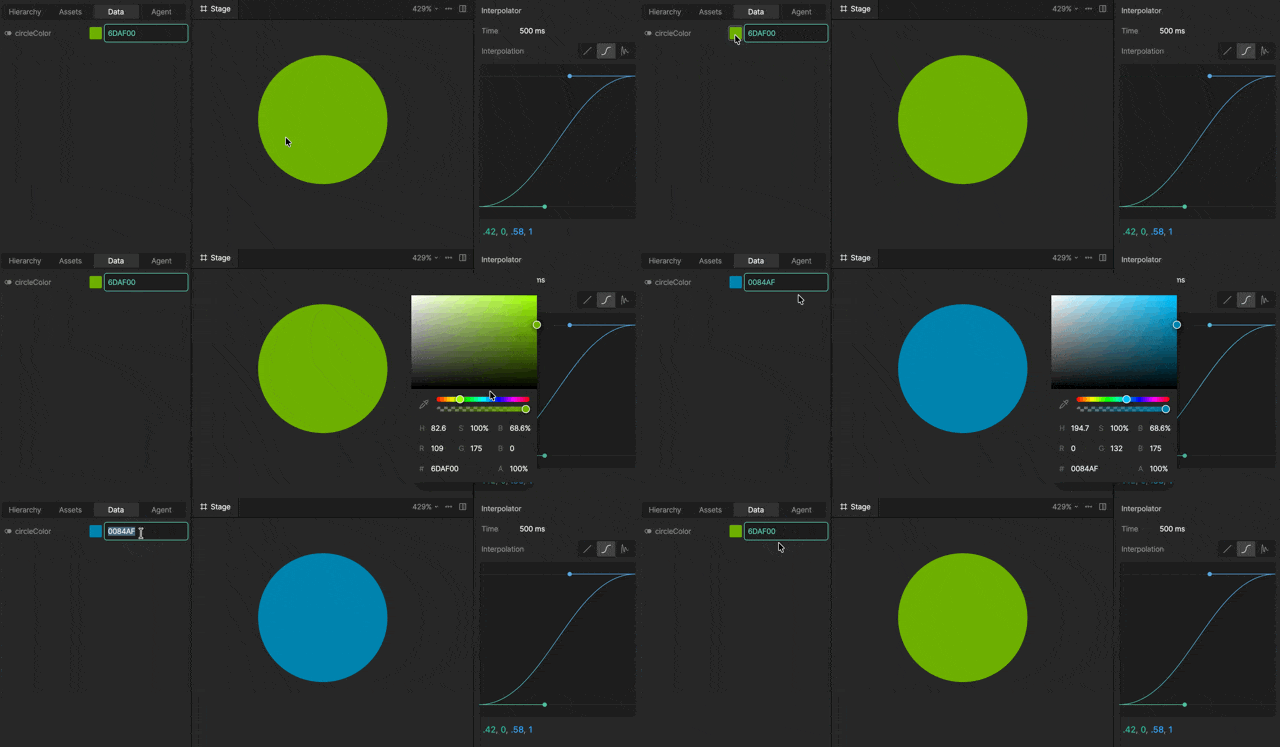
Converter Scripts
Scripting lets you create your own custom converters when you need behavior that isn’t covered by the built-in converters. See Converter Scripts for more information.Converter Groups
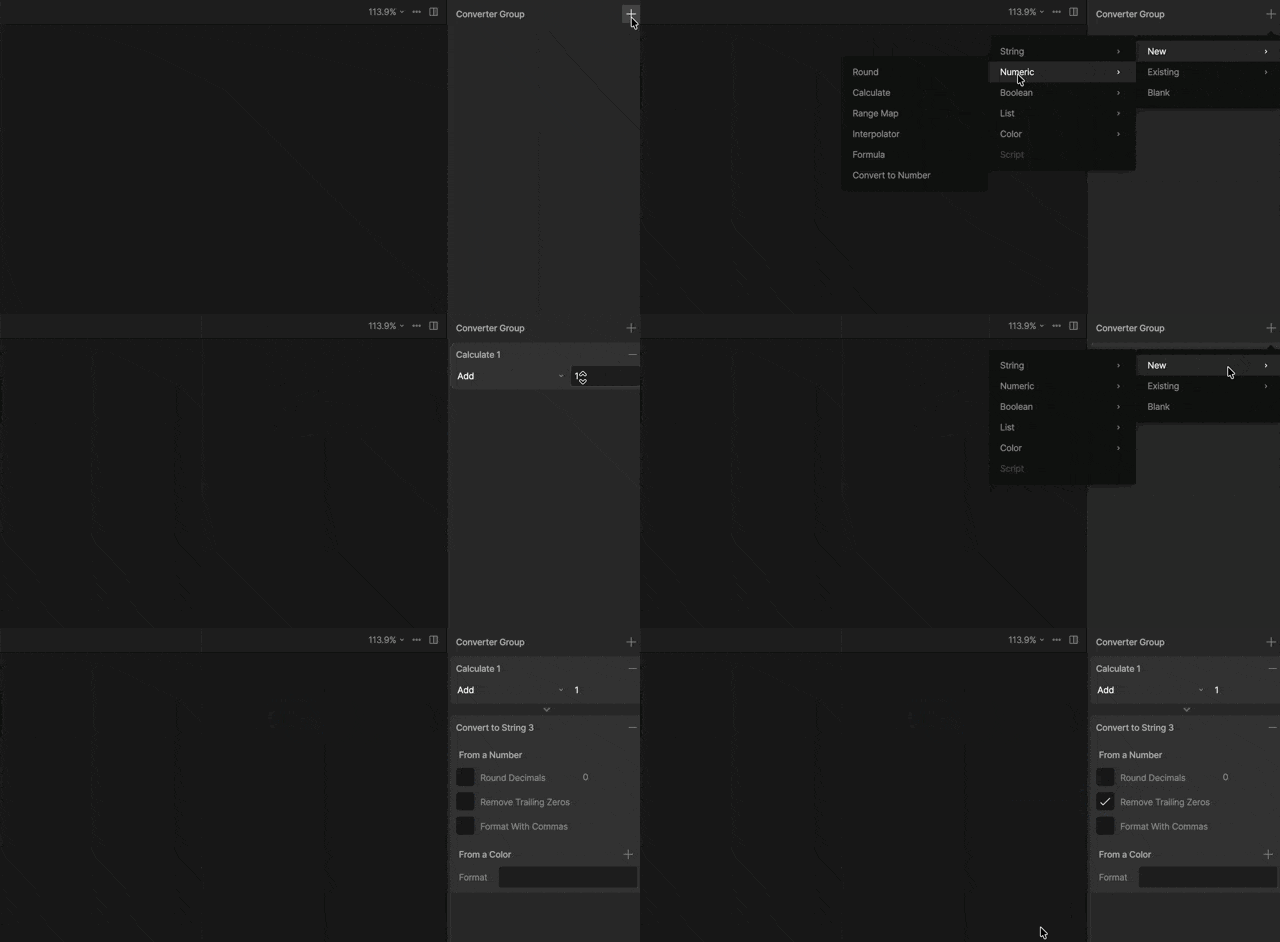
1
Create a Converter Group
In the Assets panel, click the
+ button and select Converter > Group.2
Add a Converter to Your Group
With the group selected, add the
+ button in the right sidebar and select an existing or new converter.How execution works
Converters run from top to bottom:- The first converter receives the original input
- Each converter passes its result to the next
- The final output is the result of the last converter