Defining Inputs
To make new script inputs, add them to the type and set the defaults in the script’s return function.Setting Input Values
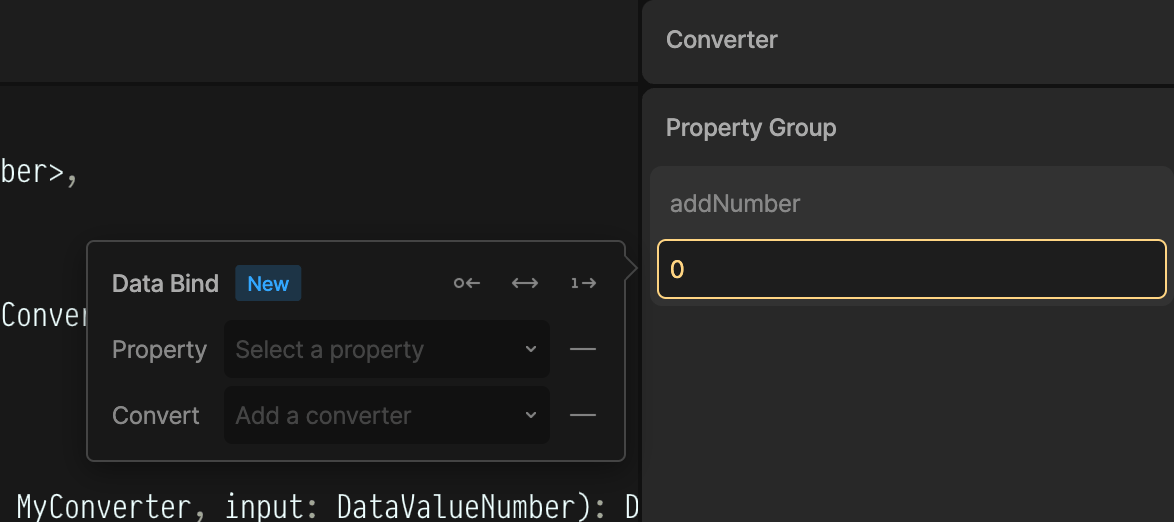
To access the input properties in the right sidebar of the editor, select your Node or Layout script in the Hierarchy Panel or the Converter in the Data Panel.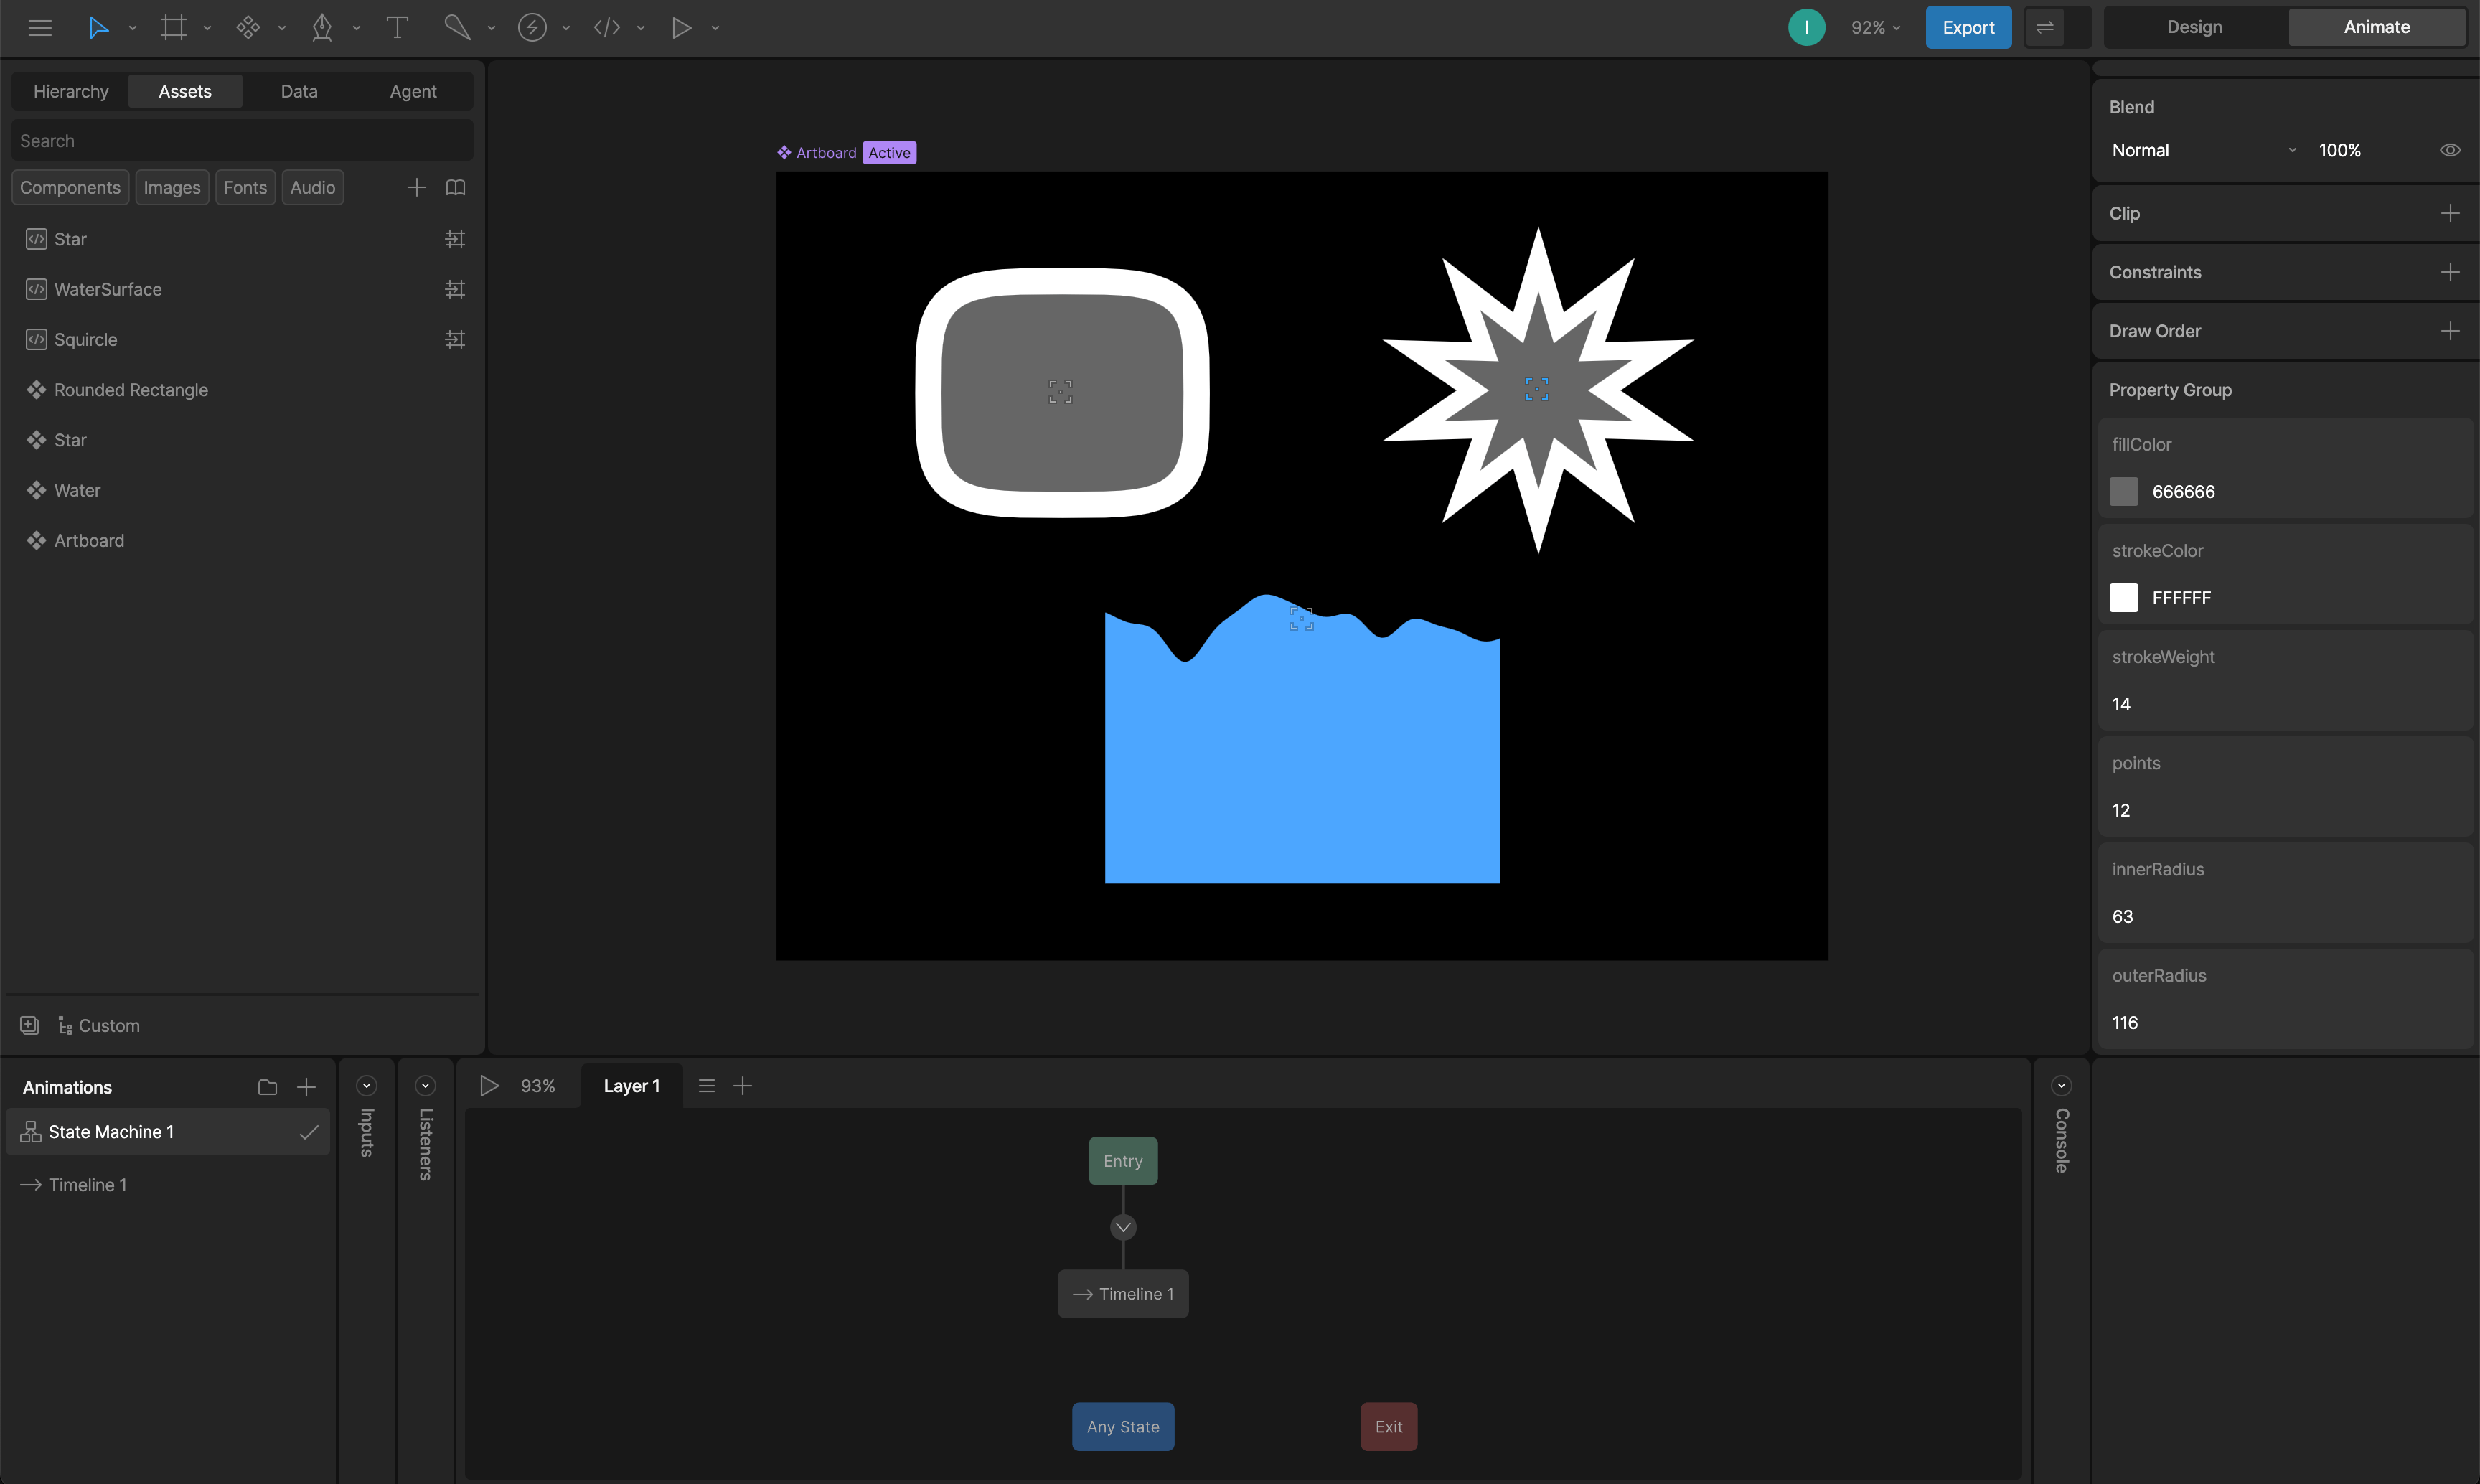
Data Binding Inputs
You can use Data Binding to control input values at runtime.Inputs can control scripts, but scripts can’t change the value of inputs.If you need to control a view model property from your script, access the view models through context or View Model Inputs.
Listening for Changes to Inputs
Theupdate function fires every time any input changes.
View Model Inputs
View Model Inputs let your script read from and write to View Model properties. These properties can control any element in your Rive scene via (See Data Binding).The easiest way to access view models in your scripts is through context.
Setting Up Your View Model
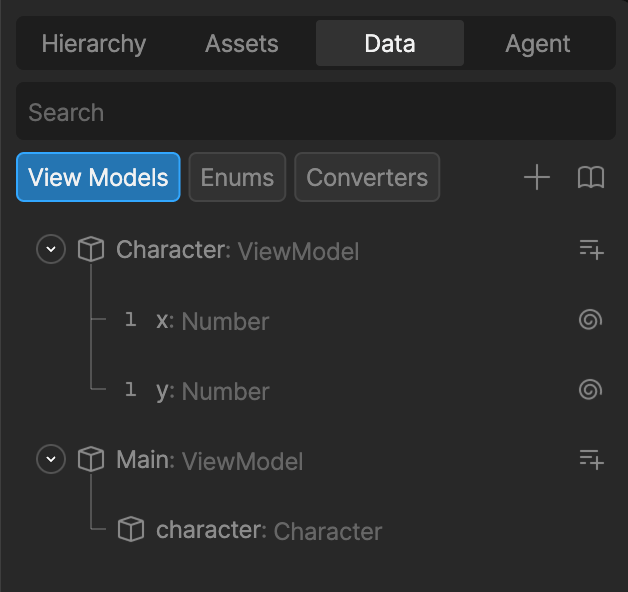
In this example:- The
Mainview model has a property namedcharacter. - The
characterproperty is itself aCharacterview model. - The
Characterview model contains two number properties (x and y) that you want to control from your script.
Defining a View Model Input
Inside your script, declare a new input whose type matches the nested view model you want to reference (Data. + the name of your nested view model).
In this case, the Character view model type becomes Data.Character.
Connecting the Input in the Editor
- Select your script in the Scene panel (or the converter if you’re using a Converter script)
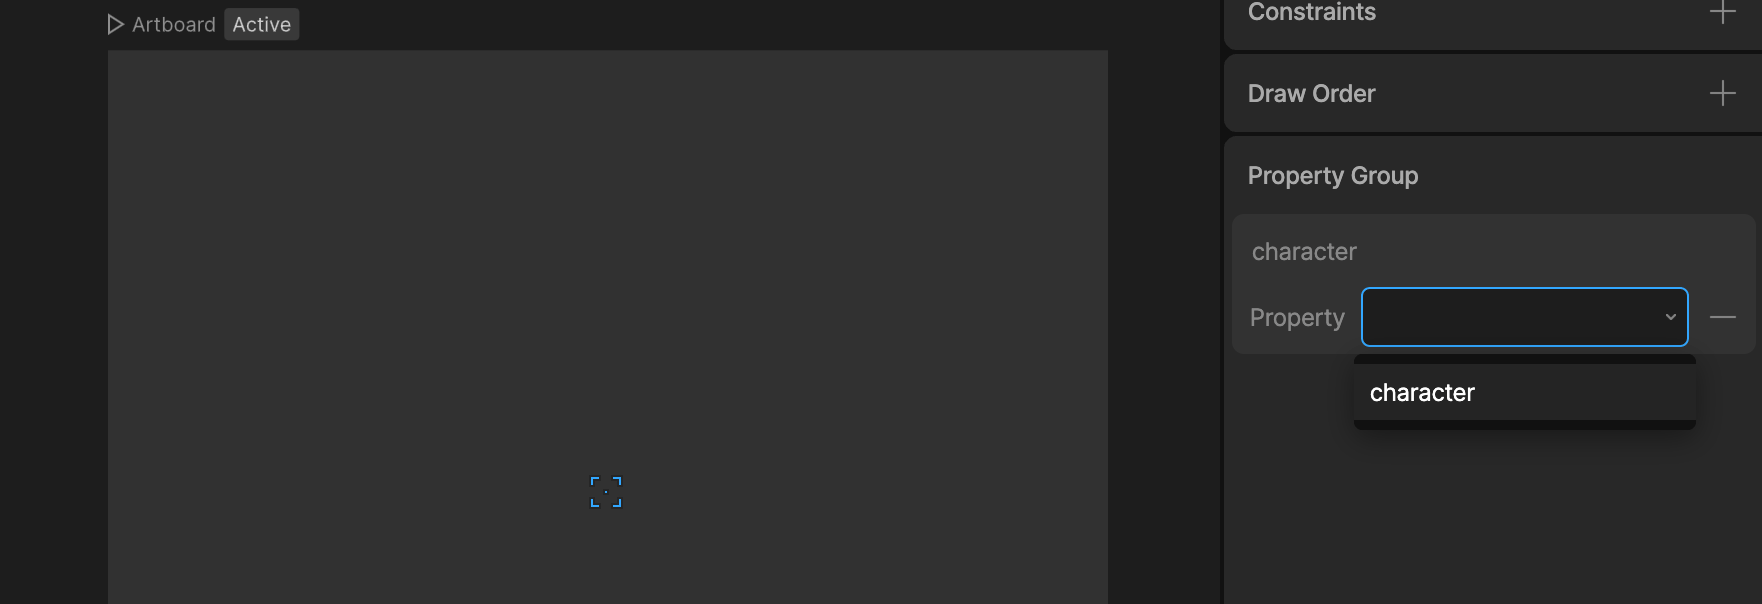
- In the right sidebar, look for the Property Group section
- You’ll see a dropdown for your character input
- Select your nested
characterproperty from the Main view model